A Lesson Review

Pop Quiz!

Didn't you just hate the pop quizes back in school? Well I have one for you today.

What did we learn about monitoring wood moisture content?

• Take readings often.

• Take readings from various locations.That includes the middle and ends of the stock (edge or face) and if you have an opportunity, from the inside when it is cut open.

• Observe the relationship of the changing moisture content and the behavior of the wood movement. Also compare these things to the specific grain patterns and the location of movement in a board. For example: where a twist may center itself.

These things are important to observe as you learn to understand a board and what it is telling you.

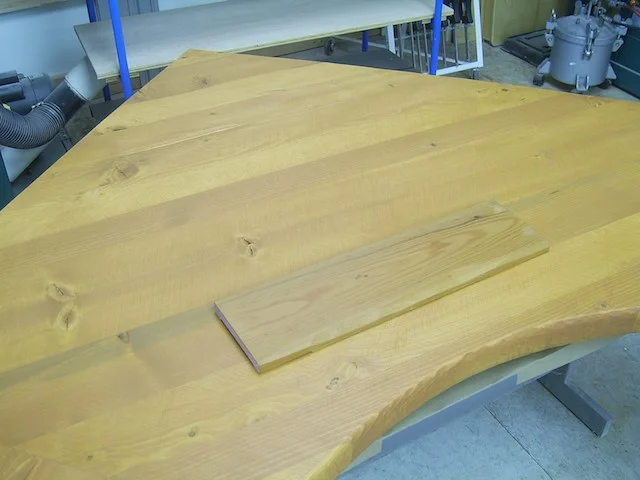
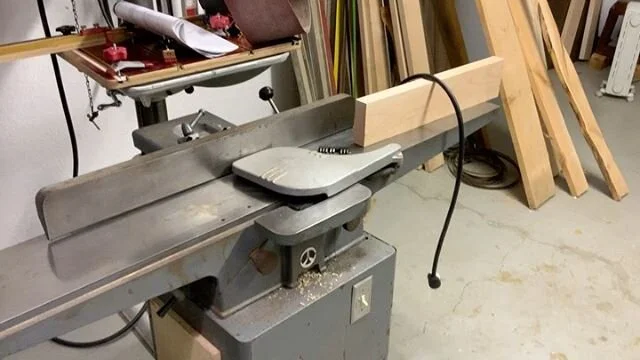
Yesterday I was working a piece of the doug fir beam. It is a beautiful piece that I am making a desk leg out of.

Beam.jpg

5"x5" Beam

After I cut the stock into sections, I took meter readings from various locations on the ends of the freshly cut wood.

Normally, if a board is sitting for a long time, I do not take readings from the end. But, if I just cut it open, I will meter the fresh cut end that came exposes the interior of the board.

Here is something that you should take note of. My stock is 4 3/4" square, if I meter the center of the stock, the moisture content will register higher than if I meter closure to the outside edge.

Moisture Reading 8.5.jpg
Moisture Meter 5.3.jpg

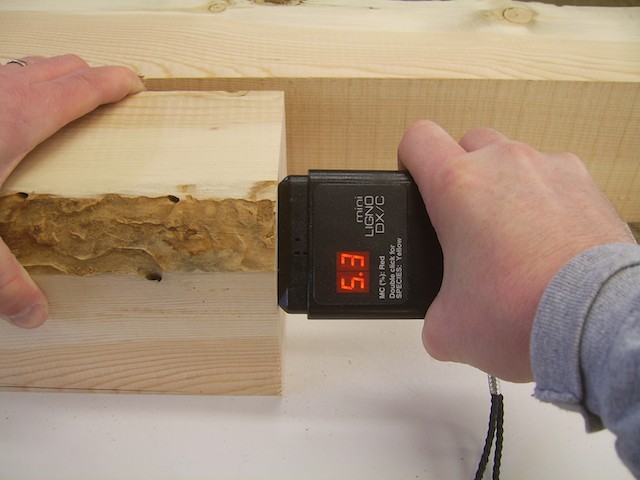
See the difference in the readings of the following pictures. Moisture Reading 8.5 Moisture Reading 5.3

This is not alarming and is normal. The wood obviously dries from the outside face in and from the ends in. What this also means is that when it is milled open, it should have a chance to equalize before putting it into a project to avoid issues of twisting.

The part of the wood that contains a higher moisture content is going to be swelled in comparison to the drier part of the board. It will be necessary to let it settle down.

Pitch - A Sticky Issue

This doug fir stock came from beams that sat outside for about 10 years. Most of the pitch has solidified and no longer runs.

This is a good thing because you should see the amount of pitch that some of this wood has. If this was fresh pitch, it would be running all over the place.

1 Pitch Pockets.jpg
2 Pitch Pockets.jpg

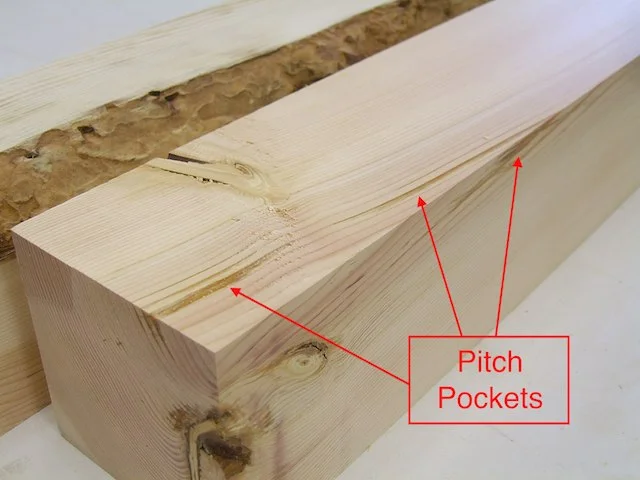
Pitch PocketsMore Pitch Pockets

Even now the pitch has been creating a mess of my tools. After milling out a tenon on the tablesaw...

Checking Tenon.jpg

Tenon cut on tablesaw.

just look at the pitch build up on the throat plate!

Pitch on Saw.jpg

Pitch on tablesaw.

The pitch has just enough body to it that it can be easily scraped off and the residue dissolved with solvent.

Pitch Scraped Off.jpg

Pitch scrapes off easily.

Fortunately for me, the design of the project is rustic and the clients are familiar with the nature of the wood.

This allows me some grace so any issues with finish will be minimal. I will need to seal the pitch with shellac to deter problems, but I am not sure that I can outright avoid them.

That is all for now. Be sure to check back regular and see what's new!

Your friend in the shop - Todd A. Clippinger

Share the Love ~ Share the Knowledge

Staining A Rustic Desk

Getting A Good Match

Today I was staining the desk. The stain had to be matched to the existing trim and so you may wonder how do I handle this?

Staining Desk.jpg

Staining the desk.

As a professional I rely on other people around me to make my work successful. One group of people that I rely on quite heavily are my various suppliers and in particular the stores that match paint and stain for me.

I am quite partial to two paint and finish suppliers as they both serve me well and I am sure that both would like to be my exclusive dealer in all things regarding paints, stains, and finish. I use both the local Pittsburgh Paint dealer, which also carries Sikkens and M.L.Campbell products, and the pro Sherwin Williams store.

For this project I took in a piece of base trim and had Sherwin Williams do the color match. They nailed it pretty good as you can see here.

Stain Comparison.jpg

Comparing stain between trim sample and desk.

You have to develop an eye for understanding what a stained surface will look like once you add the finish. The finish will change the surface color a little bit. By working with color regularly, you will also develop a sense for the different tones that are often present in a nuanced fashion. This sense develops over time the more you deal with color and matching which is a regular exercise in my remodel business.

One brand of stain that I favor is Sherwin Williams' BAC Wiping Stain. This product dries to topcoat with solvent finishes in about 60 minutes, for a water base finish you must wait 24 hours. My shop is a little cool due to the winter weather so I give it a couple of hours before shooting a pre-cat lacquer. This by far beats something like Minwax or Behr stains which take 24 hours minimum to dry before topcoating with anything.

Sherwin BAC Stain.jpg

SherWood BAC wiping stain.

That is all for now. Be sure to stop back often.

Your friend in the shop - Todd A. Clippinger

Share the Love~Share the Knowledge

A Rustic Office

Difficult Material

The doug fir beams for this project have proven to be the most difficult material that I have ever used. They are 10"x10" beams that have been laying outside for 10 years.

Beams on ground.jpg

Beams stored outside for 10 years.

The beams have been stacked and stickered but they are completely exposed to the elements. That may include desperately hot temps in the summer to subzero in the winter and all the snow or rain that the seasons bring.

I had the beams rough milled and have continually taken the material down in stages with lots of moisture meter readings to follow it's drying and acclimation process.

rough beams in truck.jpg

Beams rough milled, ready to stack and dry in the shop.

Some of the material has come down to the recommended 6%-8% moisture content but it is still more unstable than kiln dried stock. A good example of this is how the panels require a few days to settle down after being glued up. The moisture introduced during glue up causes them to get a little crazy but they will settle down as the moisture leaves them over the next 2 or 3 days and then they seem to be stabilized.

panels in glue-up.jpg

Panels in glue up.

To get an accurate moisture reading I have extra stock cut due to the anticipated high loss rate. I cut the twisting stock open to take readings on the inside to see how it compares with the outside. This process allows me to get the most accurate reading and sense of stability characteristics.

A Fitting Design

Fortunately the clients want a chunky hand hewn effect. The home is a timber frame with very heavy woodwork in it. The client described it as having a "Fred Flinstone chunkiness to it." That would be an accurate description and it looks good with the wood floors, plaster textured walls, and stone fireplace.

Fred Flinstone Chunky Interior.jpg

Fred Flinstone chunky interior.

The rough textures of the handwork and saw marks are clearly evident on the wood. To create the effect of milling marks on the desk top I used a belt sander with 50 grit and sanded it in two directions to create an "X" pattern with the scratch marks to create a milled effect. It worked pretty good.

Mill Marks effect.jpg

Millwork effects on desk top.

The front edge of the desk was sanded to create a hand hewn effect. I was virtually using the belt sander to sculpt the surface and it worked quite well. The look is proportional to the project and is fitting to the decor.

Rustic Front Edge.jpg
Desk top.jpg

Rustic front edge on desk.Rustic Desk

The rustic look is a perfect interpretation of this material. It allows me a little grace for the way the wood is behaving. For as challenging as the wood has been, I feel confident that I can get some stable stock for the doors (at least I hope so;)

That's all for now.

Your friend in the shop - Todd A. Clippinger

Share the Love~Share the Knowledge