Lock Your Dovetails and Box Joints

Early on in my career, when I took an interest in building furniture, I took a good look at antiques to get an idea of how furniture was constructed. 

One of the biggest surprises to me, was to find that it was not uncommon to see dovetail joinery and box joints falling apart. This really surprised me until I came to understand the reasons why. 

Through my study and observation of antique furniture, I also came up with a simple, yet ingenious solution to lock the dovetails and box joints together. 

In this video I share my favorite woodworking tip and technique of all time, which is how I lock my dovetails and box joints together.

I hope you find the information in this video helpful and that you go out in the shop and give it a try. 

Your friend in the shop-

Todd A. Clippinger

Share the Love - Share the Knowledge. 

American Craftsman Workshop Video Is Back!

The Journey

It's been a lot of work to get to this point. Since taking a beating from the recession, I took all of the work I could get to recover over the last couple of years. Between working projects out of my shop, working with another contractor, and Rita opening a cafe in downtown Billings, there was not any free time to get out any blogs let alone video.

I have been chomping at the bit to get back to sharing with the woodworking community. Sharing the craft with others has become a passion of mine. I have enjoyed an amazing journey in my own growth of woodworking skills, and I love helping others so that they may enjoy that same growth as well. I also find that sharing has sparked a new level of growth in myself. The woodworking journey never ends!

A Peak Behind The Scenes

Another task that took up my time, was setting up the infrastructure for better video. I recognized that I needed to make some changes in the shop to produce higher quality video. This included adding more light fixtures to increase lumens per square foot and to create even lighting. I went from 44 bulbs to 84. Yes, I nearly doubled my light output (and power consumption.)

Video Lighting Mode

Video Lighting Mode 2

I set the wiring and switches up for "work mode" and "video mode." In work mode I only run the same lights that I always have to provide enough light for working on projects. In video mode I turn on the additional lighting to provide brighter, more even coverage for a better video image. 


 Replacing Magnetic Ballast I noticed another problem during some test shoots, the old magnetic ballasts created a lot of hum and buzz. So I changed out the last 10 magnetic ballasts for new electronic units. Not only do the lights run silently now, but the start up is much faster. This was a nice improvement.

It is a good thing to have remodeling skills. I have saved myself a good chunk of change being able to do the work myself but it has been a lot of time and effort.

Third Time Is A Charm

Removing Attic LadderThe new lights required a good bit of wiring, and the fixture layout required moving the attic access ladder to a new location. Removing & re-installing the spring loaded attic ladder by myself is something like handling a human size mouse trap. The effort was worthwhile since I found a better location that does not require me to move anything on the floor to drop the ladder. Previously, I had to move my 8" jointer to drop the attic ladder. My shop layout is on plan #3 and so these things happen. I think that I have finally nailed it down this time both on the floor and ceiling layout.

(Clicking on the thumbnails will open larger image.)

I'm A Mac

Other infrastructure upgrades include a new 27" iMac (freaking sweet!) and editing software. I upgraded from iMovie, which I think is a great program, to Final Cut Pro X. FCPX is waaay more powerful and with that power comes a new level of complexity.

Just like with woodworking, you can read or watch tutorials on the subject all you want, but it's only by doing will you really understand the craft. I was going to do a shop tour, but it turned into a simple look around the shop with a movie preview theme for fun. It's short but it was an exercise for me to try out the new capabilities of FCPX.

Stay tuned, there will be more videos coming from the American Craftsman Workshop as I continue supporting the woodworking community!

Your friend in the shop,

Todd A. Clippinger

Share the Love~Share the Knowledge


Trusting Your Glue Joints

Will Your Glue Joints Hold?

Most woodworkers struggle with trusting their glue joints. Will they hold up? How much stress will they handle? 

I used to struggle with the same insecurities about my glue joints when I started woodworking. How did I get over it? By continually doing quality control checks on my glue joints through destructive testing. 

QC Through Destructive Testing


Ash glue joint.It is important to know that I don't do things one time in my shop just so I can share it with my friends online, the techniques and principles that I share are the things that I practice everyday in my shop. Testing my glue joints is something that I do in most every project.Cherry glue joint

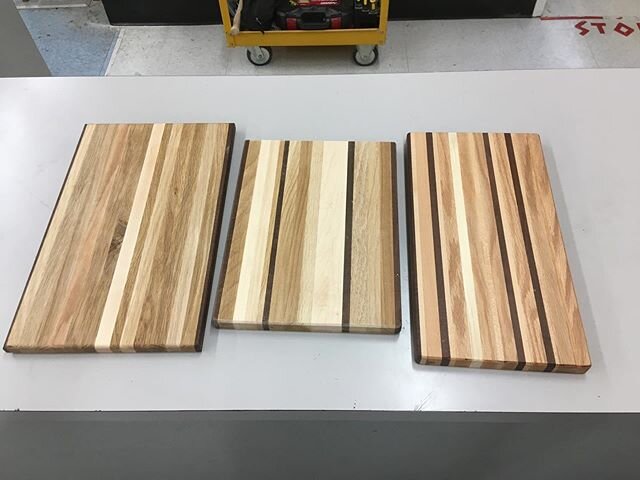
When I glue up panels, thick or thin, I always glue them a little oversize and then cut them down to the finished width and length. I like to use the end drop pieces of a glued up panel for destructive testing to see how my joints hold up.

The other day I was making some frame and panel assemblies and used the scraps to do destructive testing. I take the scraps and stress them until the point of failure. I am not using scientific equipment to measure the pounds per square inch, I just am getting a feel for how hard it is to break and I am examining the break. 

By examining the break I am looking for the failure location. Is it the wood? Or is it the glue?

The waste piece in the photos happens to have a biscuit in it. I used to think biscuits added strength to the joint. I now believe that a good glue joint is stronger without the biscuit, but I use them to aid in the alignment of boards. 

The panel I was cutting was 3/8" thick and I broke several pieces of waste to see if the results were consistent, which they were. You will see that the biscuit does not break, of course, and it adds some internal leverage to break the panel, but the glue joint itself did not fail. Ultimately, that is what I am looking for. Realistically,the panel will not suffer stress like this, but I want to test my glue joints.

Breaking the test piece.

 Glue joint held, wood broke.Examine the glue joint.


Through constant testing I have become secure in knowing that my glue joints are good. Testing allows me to gain confidence that the products and techniques are good. Pushing the waste pieces to the limit of failure gives me an opportunity to examine both.

A Video On Testing Glue Joints

Here is the video I made to demonstrate how I do destructive testing to check my glue joints. It has a lot of good information in it. I hope you enjoy!

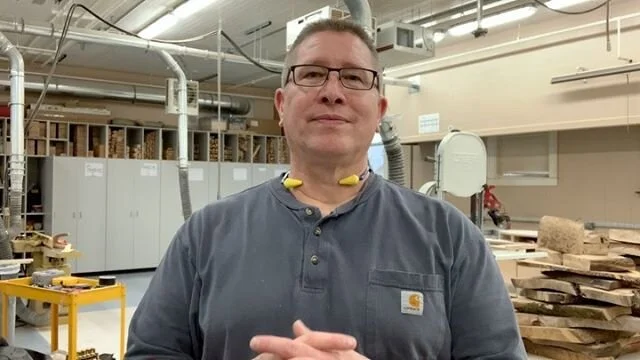
Your friend in the shop, Todd A. Clippinger.

Share the Love~Share the Knowledge

Click Here For Direct Link To Episode